You've decided to stop guessing and start tracking your print costs. Good. This guide will walk you through setting up your first machine in PrintCostCalculator, entering your first toner, and understanding what happens when that toner runs out. The whole process takes less than 10 minutes, and by the end, you'll have the foundation for accurate cost-per-page tracking.
Step 1: Create Your Account
Head to printcostcalculator.com and click "Start Free Trial." You'll need to provide your name, email address, and a password. That's it — no credit card, no complicated forms.
Once you verify your email, you'll land on the dashboard. It will look empty right now — no machines, no data, no reports. That's about to change.
Your free trial runs for 30 days with full access to every feature. There's no limit on the number of machines or entries you can add during the trial.
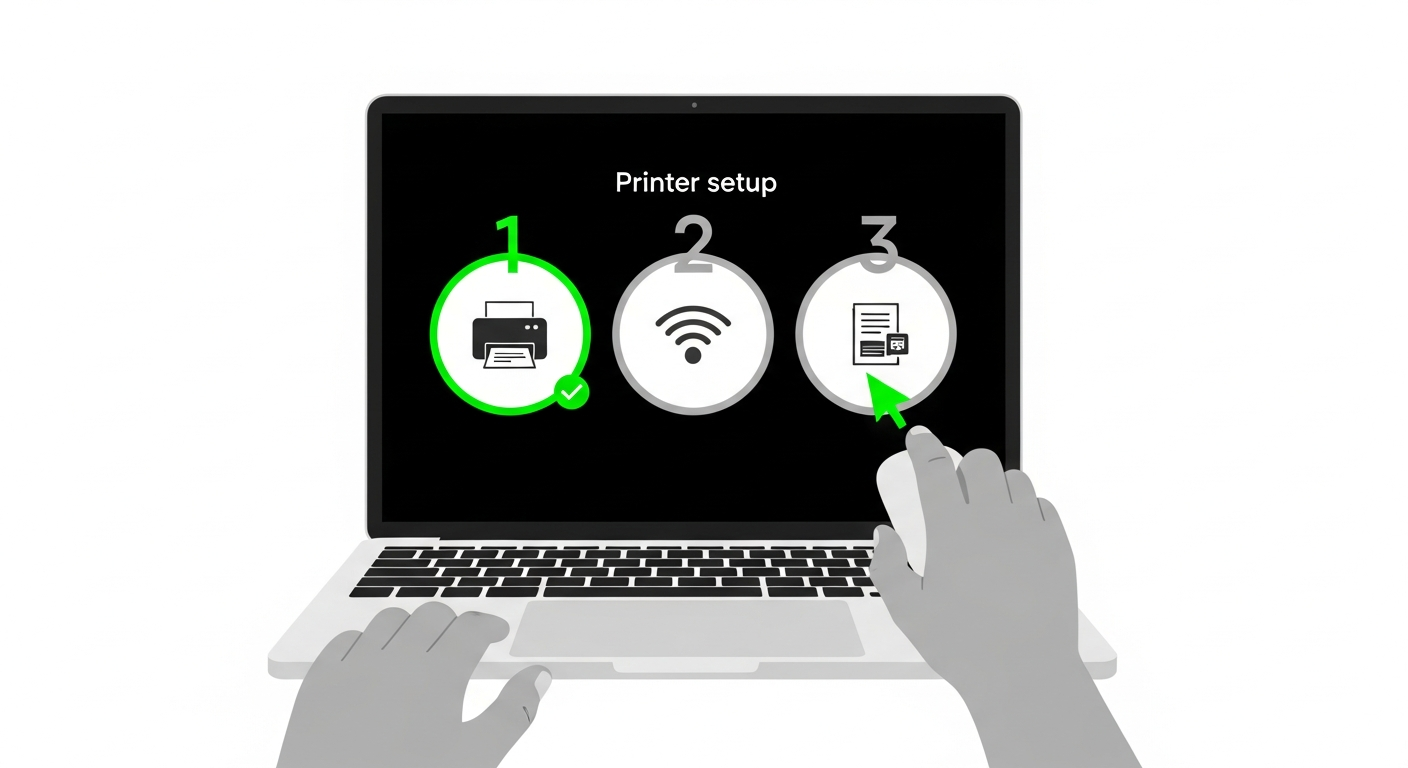
Step 2: Add Your First Machine
Click the "Machines" section from the navigation. Then click "Add Machine."
Here's where PrintCostCalculator saves you time. Instead of manually typing your machine's specifications, you can select from a pre-built database of popular copier models used in India. The database includes machines from Ricoh, Canon, Kyocera, Konica Minolta, Sharp, Toshiba, and HP — covering most models you'll find in an Indian print shop.
Start typing your machine model — for example, "Ricoh MP 2014" — and select it from the dropdown. The system automatically fills in key details like whether it's a color or B&W machine and the machine type.
You'll also need to provide:
- Machine name or label — something that helps you identify it, like "Front Counter Ricoh" or "Machine 1"
- Machine type — this is pre-filled from the database, but you can adjust if needed
If your specific model isn't in the database, you can add a custom machine by entering the details manually. But for most popular Indian market models, you'll find it in the list.
Click "Save" and your machine appears on the dashboard. Now let's give it some data.
Step 3: Enter Your First Toner
Navigate to the "Toner" section from the navigation menu. Click "Add Toner Entry."
Select the machine you just added. Then fill in the following:
- Toner name or brand — for example, "Ricoh Original" or "Compatible - XYZ Brand"
- Toner cost — the price you paid, e.g., ₹2,800
- Opening A4 meter reading — go to your machine, check the meter counter, and enter the current A4 reading (e.g., 45,230)
- Opening A3 meter reading — if your machine tracks A3 separately, enter that too (e.g., 3,150). If your machine doesn't do A3, or you don't track it, leave this at 0
- Date — the date you installed this toner
For color machines, you'll also select which color this toner is — Cyan, Magenta, Yellow, or Black. Each color cartridge gets its own entry because each has its own yield and replacement cycle.
Click "Save." Your first toner entry is now recorded with its opening meter readings. The system marks this as an "active" toner — meaning it's currently in the machine.
A Tip About Your First Entry
If you've already been using a toner for some time and don't know what the opening reading was when you installed it, don't worry. Just enter today's meter reading as the opening reading. Your first toner entry won't have accurate yield data, but every entry after that will be precise. Everyone starts somewhere.
Step 4: What Happens When the Toner Finishes
This is where the real tracking begins. When your toner runs out — whether that's two weeks or two months from now — come back to PrintCostCalculator and add a new toner entry for the same machine.
When you add the new entry, the system does something important: it automatically closes the previous toner entry. The opening meter reading of your new toner becomes the closing meter reading of the old one.
Here's an example. Say your first toner entry had an opening A4 reading of 45,230. When that toner finishes and you install a new one, the machine's A4 meter now reads 54,890. You enter 54,890 as the opening reading for the new toner. The system automatically calculates:
- Previous toner served: 54,890 - 45,230 = 9,660 A4 prints
- If you paid ₹2,800 for that toner, your cost per page was: 2,800 ÷ 9,660 = ₹0.29 per page
If you also had A3 prints during that period, the calculation accounts for them automatically — each A3 print counts as 2 A4 equivalent prints in the cost calculation.
You don't need to do any of this math yourself. The system handles it the moment you save the new entry. The previous entry updates to show its yield, cost per page, and status changes from "active" to "completed."
Step 5: Reading Your First Cost Report
After your first toner completes its cycle, your dashboard starts showing real data. Here's what you'll see:
On the Machine Dashboard:
- Total cost per page for each machine (combining toner, spare parts, and service charges)
- Breakdown showing how much each component contributes
- Total prints tracked and total money spent
In the Toner Section:
- Each completed toner entry shows actual yield vs what you expected
- Cost per page for each individual toner
- You can compare yields across different toner brands over time
The more data you enter, the more useful the reports become. After 2-3 toner cycles, you'll start seeing trends. After 6 months, you'll have a clear picture of exactly what each machine costs to operate.
Don't Forget: Spare Parts and Service
Toner tracking is the foundation, but for a complete cost picture, you should also log spare parts and service visits. The process is similar:
For spare parts: Go to the "Spare Parts" section, select the machine, enter the part name (drum, blade, PCR, fuser, etc.), the cost, and the current meter reading. When you replace that part in the future, the system auto-closes it just like toner entries.
For service visits: Go to the "Service" section, select the machine, enter the service charge amount, a brief description of what was done, and the current meter reading.
Each of these feeds into your total cost per page calculation. A machine might look cheap based on toner alone, but once you add ₹4,500 for a drum replacement and ₹800 for a service visit, the real picture emerges.
Building the Habit
The hardest part of cost tracking isn't the setup — it's remembering to enter data consistently. Here are some practical tips from shop owners who've built the habit successfully:
- Enter data immediately. When you change a toner, open PrintCostCalculator on your phone right then and there. It takes 30 seconds.
- Keep a small notebook by each machine. If you can't enter data right away, jot down the meter reading and enter it later that day.
- Set a weekly reminder. Every Saturday, spend 5 minutes checking that all entries are up to date.
The shops with the best data aren't the ones with the most sophisticated systems. They're the ones that enter their meter readings consistently, every single time.
That's all it takes to get started. One machine, one toner entry, one meter reading. Within a few weeks, you'll have real cost data that no dealer estimate or manufacturer spec sheet can match. And once you see your actual numbers, you'll wonder how you ever ran your shop without them.